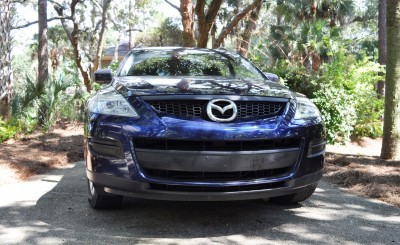
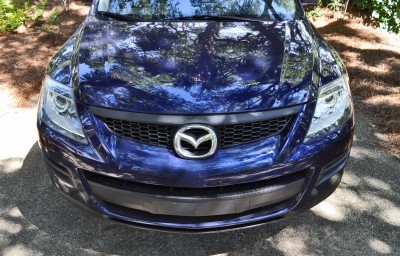
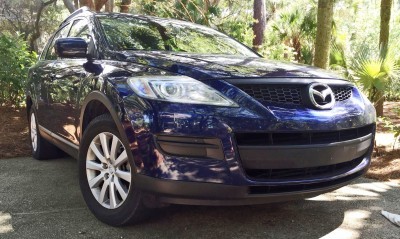
 Here is a fun and very easy DIY project that requires just a few tools, no complex disassembly, and minimal time or money to achieve.
What is it?
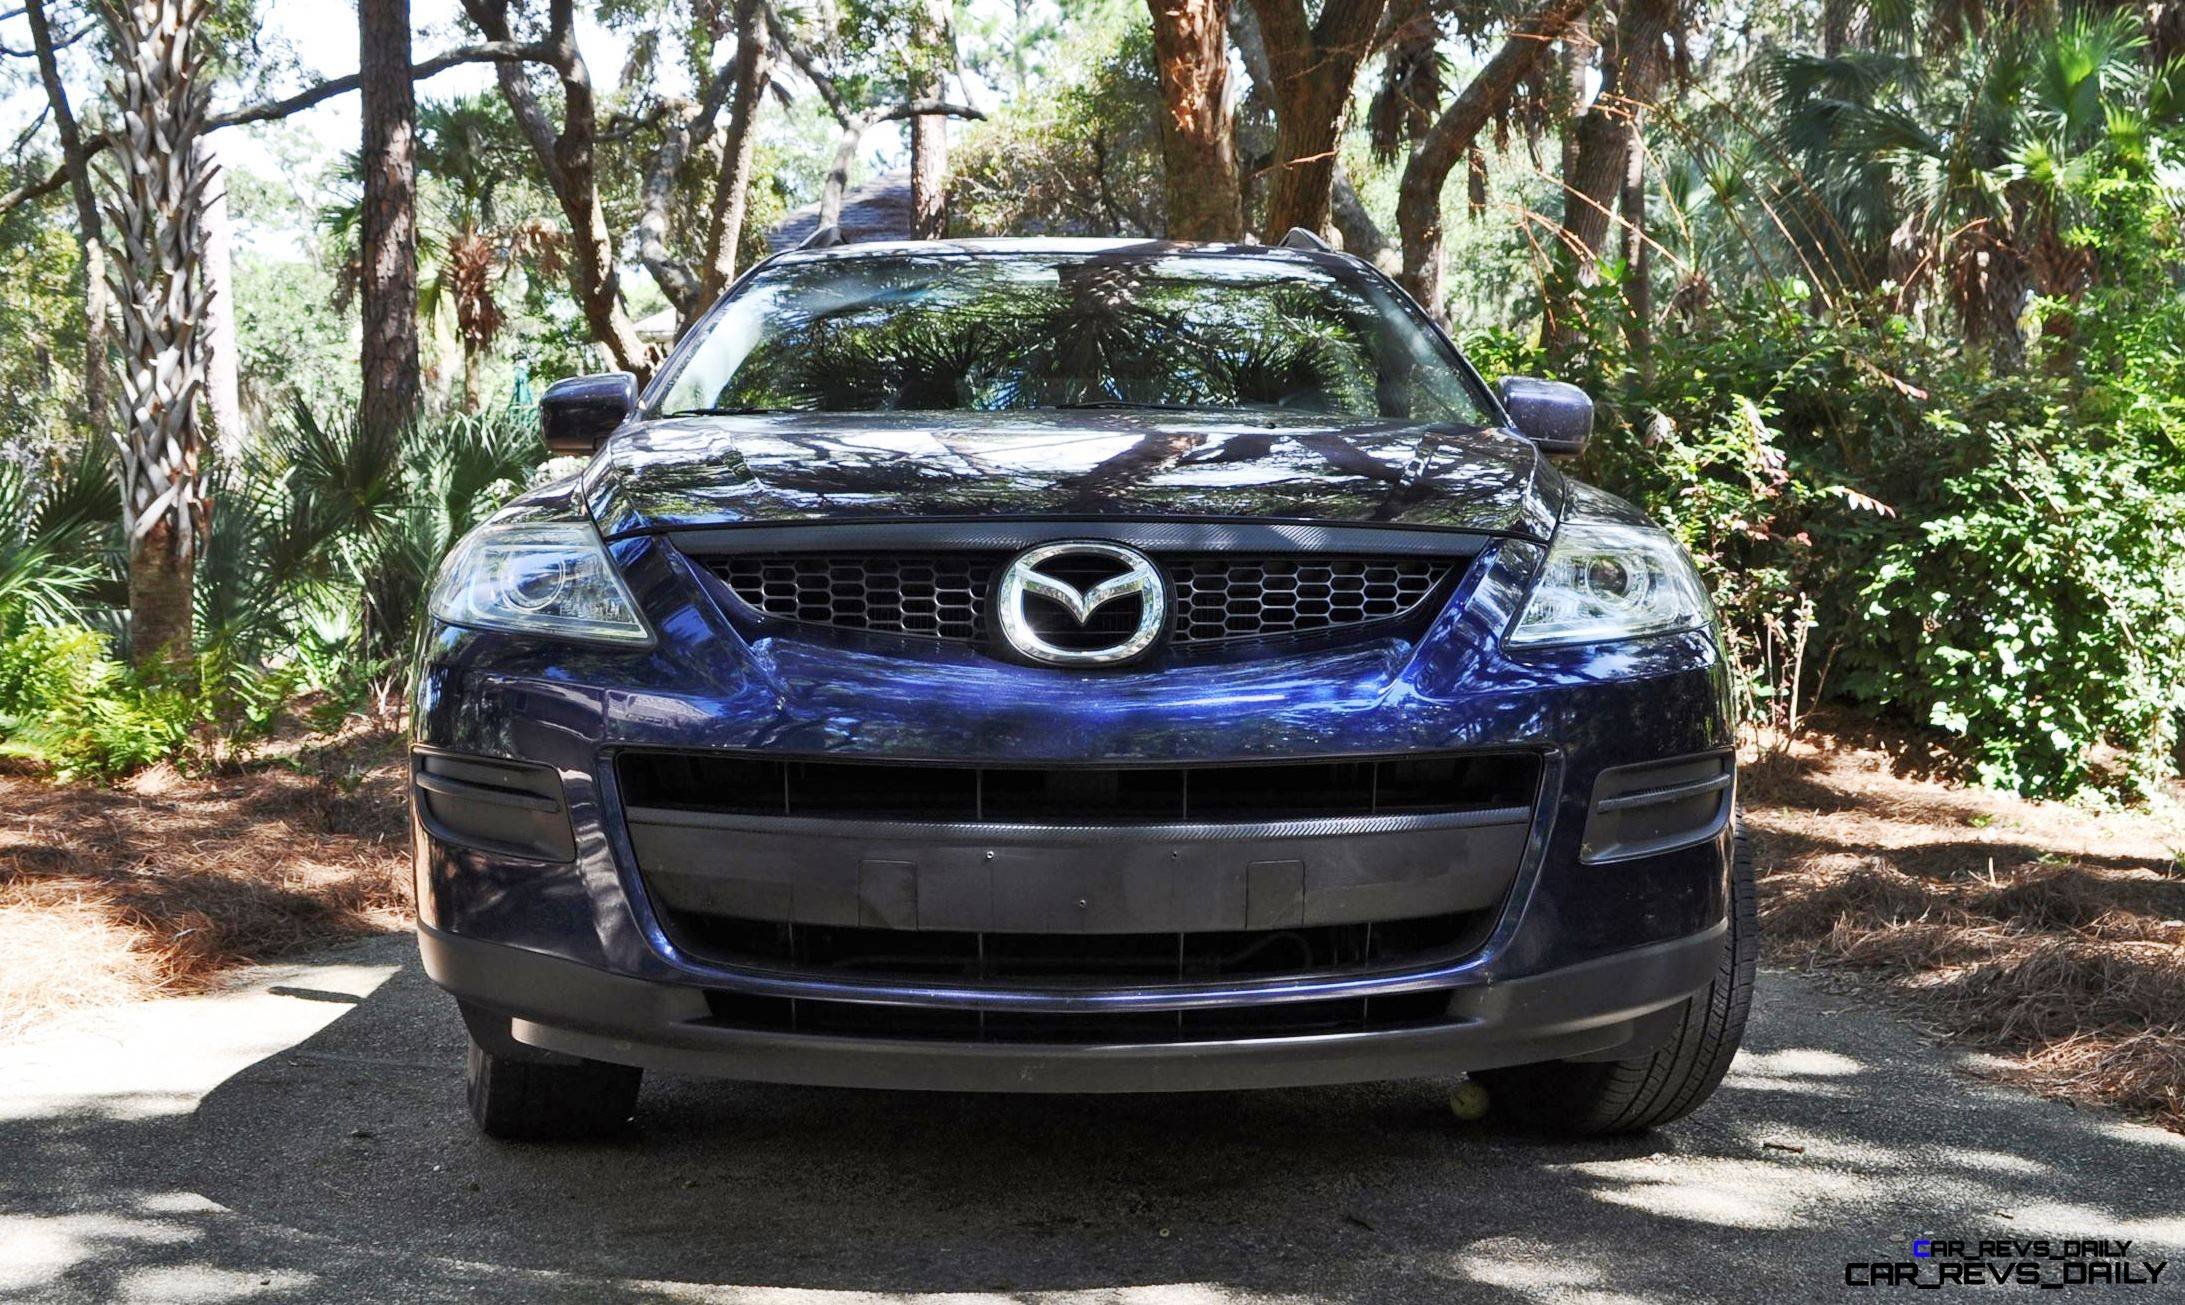
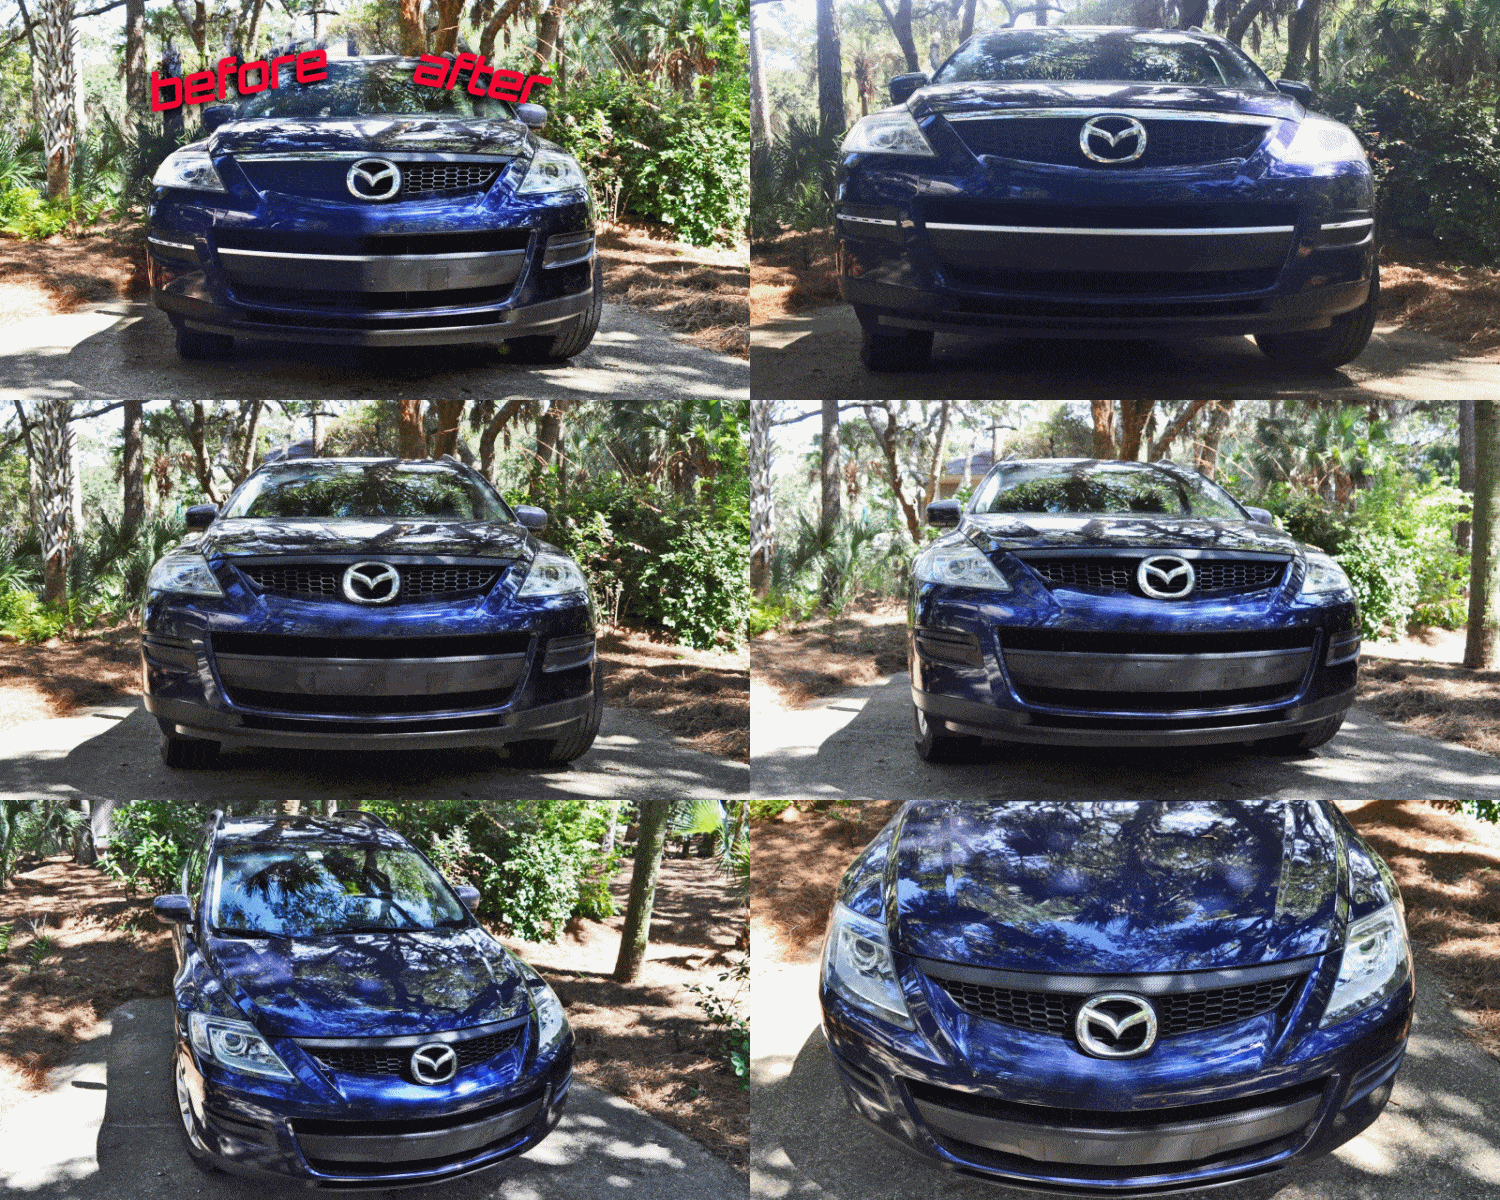
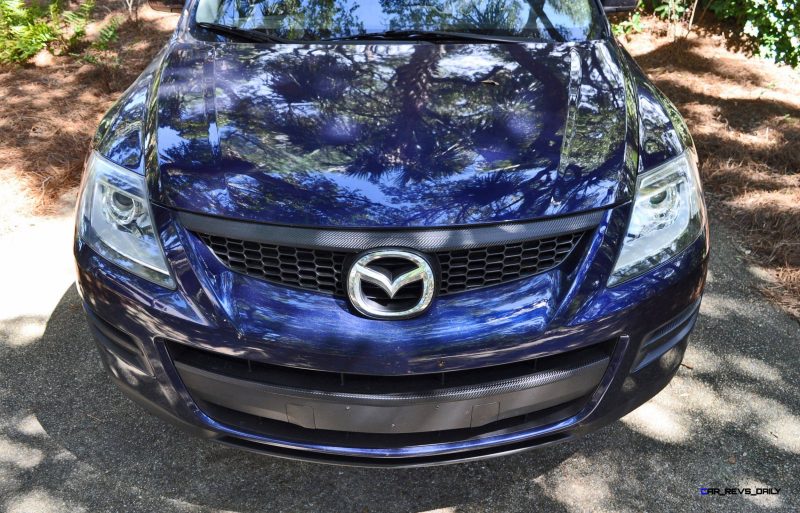
A DIY de-chrome of an OEM nose brightwork in favor of a carbon-fiber pattern wrap. “Carbon Fiber” and “Wrap” are both ambitious descriptions. It is neither real CF nor a full wrap.
Just a bit of adhesive-backed tape in a woven pattern.
We picked up ours from Autozone for about $15, but much better deals are available at Amazon etc. Almost all car parts stores carry this trim tape in their nasty accessories area… near the low-quality/high-price LEDs.
But hold your snootiness… the project is not for a car you worship.
This project is best for a car you are driving by default — perhaps a hand-me-down, and perhaps referred to among your buddies as “your big purple van.”
Ha ha. Ha.
How to have the last laugh, give your car an original look, and get some more respect in the fast lane of the highway?
Blacking out the nose of the CX-9 is actually really effective, and really easy. If you hate how the results look, the tape can be removed in the first few days. If applied and sealed correctly, the look should last at least a year in any climate or car-washing routine. The tape bakes on, however, and will leave some residue if you try to fully remove it after more than a few weeks. (Goo-Gone will remove this without hurting the plasti-chrome underneath.
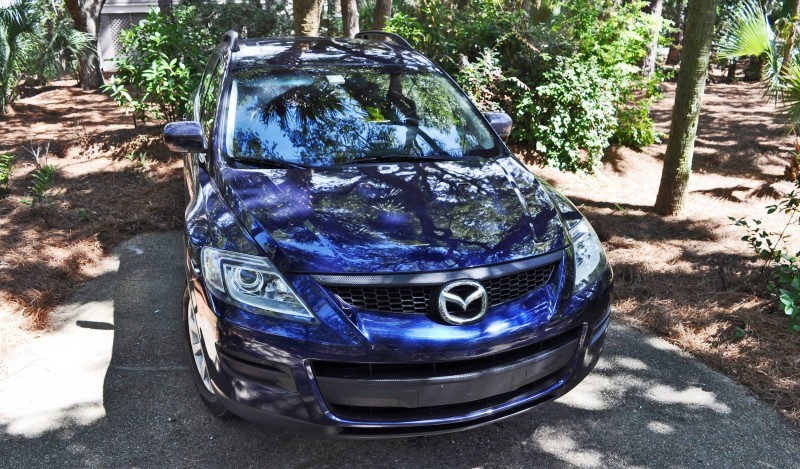
DIY: 20-Minute, $20 Nose Makeover Via Carbon-Fiber Wrap
SUPPLIES:
— CF pattern tape
— Scissors
— Wet rag/dry rag
— lighter or heat gun or hair dryer
— pin (optional)
STEPS
-
Pick up a roll or two of CF pattern tape
-
Clean nose fully — all surfaces should be free of bugs and fully dry.
-
Take a “before” picture
-
Bring a pair of scissors, a Bic lighter or hair-dryer. Heat gun is ideal, but not necessary at all. We used a lighter.
-
Un-stick the backing of the tape at one corner of the grille, and loosely stick it to that corner. Do not unstick whole section of tape. Later, you will un-peel it as you dab the sticky side loosely onto surface.)
-
Pull over to other side for measurement. Snip off the end with an extra inch or two (to account for curve in many grille shapes).
-
Slowly press down on the tape with your thumb, starting at the edge and moving inward.
-
Smoothly make sure the tape is set against any flat surfaces.
-
Move up to lower and upper edges of tape to stick it to those surfaces.
-
For curved surfaces or complex angles, the tape CAN bend.
-
If the angle is too great, snip a half-width cut into the tape so it can bend more freely
-
If another layer is needed to fully cover the chrome sections, repeat the above steps. Try to align the weave in the tape if you are OCD.
-
fully press down on every piece of the tape for at least 10 seconds to ensure a bond.
-
For any narrow sections, use a thin plastic card — thinner and more flexible than real credit cards — to tuck the tape in.
-
For any blemishes, briefly hold the lighter near the area. This heats up the tape FAST — not much heat is needed. Once warmed instantly, blot downward onto the spot. Do not wipe the hot section.
-
For any air bubbles, there are two ways to best fix: a pin prick will poke a hole, then dab downward to seal it. Pinprick is invisible once stuck.
-
You can also use a lighter to warm the area for 2-seconds or less. Then dab downward (NOT a wipe motion) to seal in the stick without blemish.
-
Step back and check to make sure all chrome areas are covered, the weave pattern matches for multi-layer efforts, and that your edges are tucked under any other grille pieces or bodywork.
-
Last step!
-
Run your heat source over the key corners and edges BRIEFLY, skimming the plastic card along to tuck them in. (This is where it will, eventually, start to peel. Tucking makes it much more resilient to carwashes, climate, etc.
-
Briefly heat the entire tape applied areas, on six-inch section at a time. Warm it up, press down to ensure good seal. Then move to new section.
-
Heat helps the wrap tape to conform over any surface. As it cools, that becomes its new ‘natural’ shape.
-
Take “after” picture!
The results vary, of course, and this tape is also perfect for chrome window surrounds.
Next up, have to plasti-dip those nerdy OEM wheels to anthracite grey!
2010 Mazda CX-9 Nose De-Chrome Via Carbon-Fiber Wrap
Before
After

Tom Burkart is the founder and managing editor of Car-Revs-Daily.com, an innovative and rapidly-expanding automotive news magazine.
He holds a Journalism JBA degree from the University of Wisconsin – Madison. Tom currently resides in Charleston, South Carolina with his two amazing dogs, Drake and Tank.
Mr. Burkart is available for all questions and concerns by email Tom(at)car-revs-daily.com.

