Part Two of a new ‘DIY Car Mods’ series.
Definitely some really trashy stuff included in this series of articles. But what is the best/worst part of modifying your own car? No matter the price of the upgraded parts — you have zero guarantee they will perform as promised, or even fit.
So please take all these with a hefty dose of salt. Ideally, these are just ideas based on what has “stuck” on my car’s cosmetic refresh list over the years. Many, many even trashier upgrades have been installed and later removed from deep shaming by car-guy pals. And always remember, no matter how crappy your DIY effort, there is always a worse one out there… somewhere!
Criteria:
— Under $60 per upgrade. Total.
— Installed in a few hours or less by anyone. Little expertise needed.
— (Mostly) Able to be uninstalled in just 5 minutes as needed when the style is dated or you … ahem… grow out of some of these boy-racer styling enhancements.
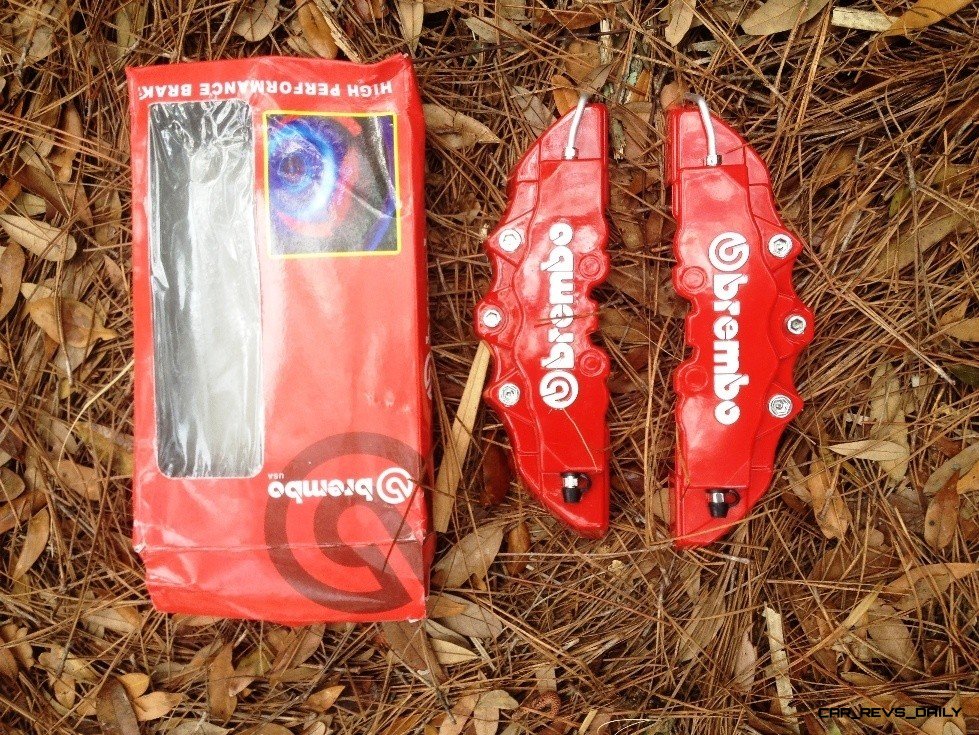
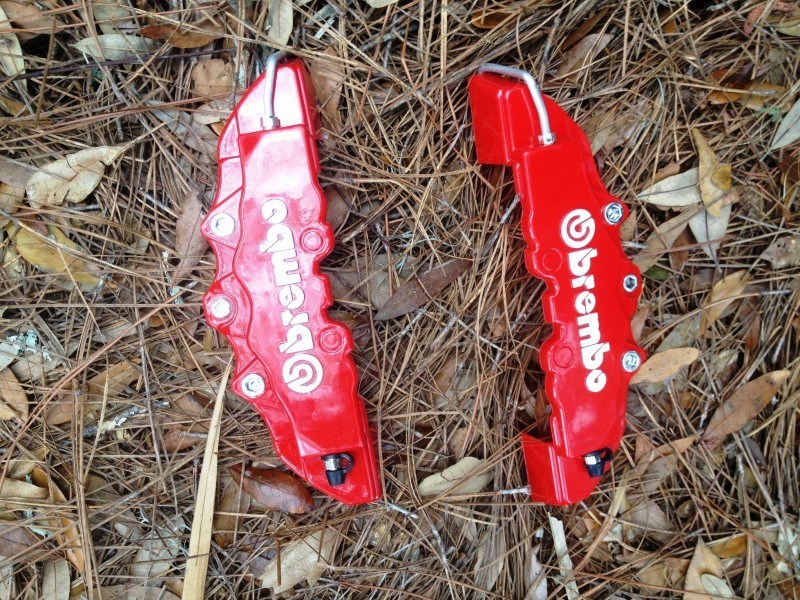
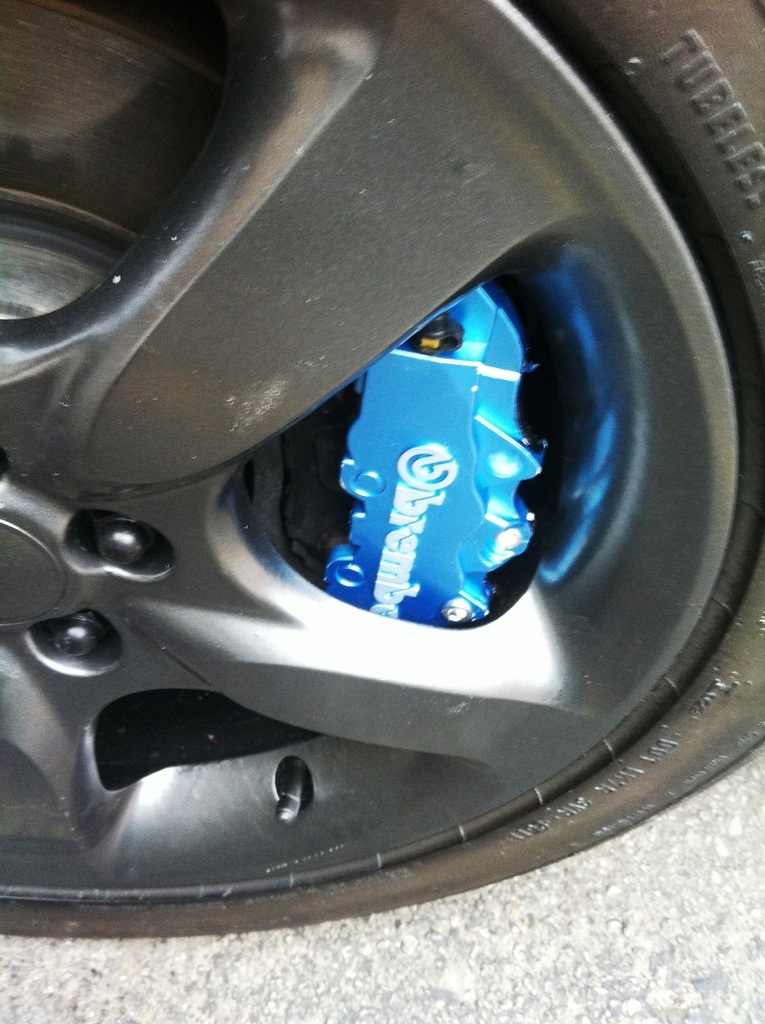
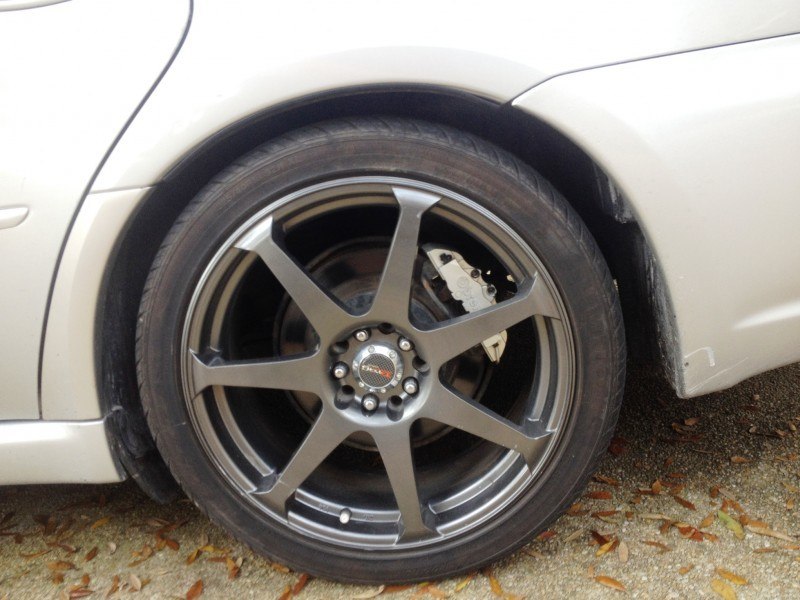
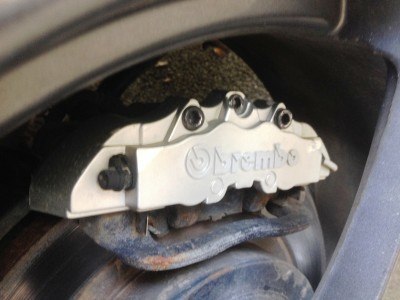
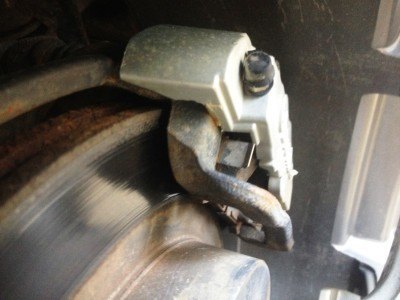
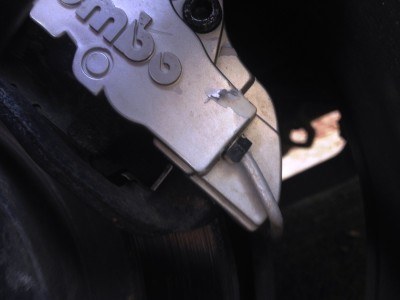
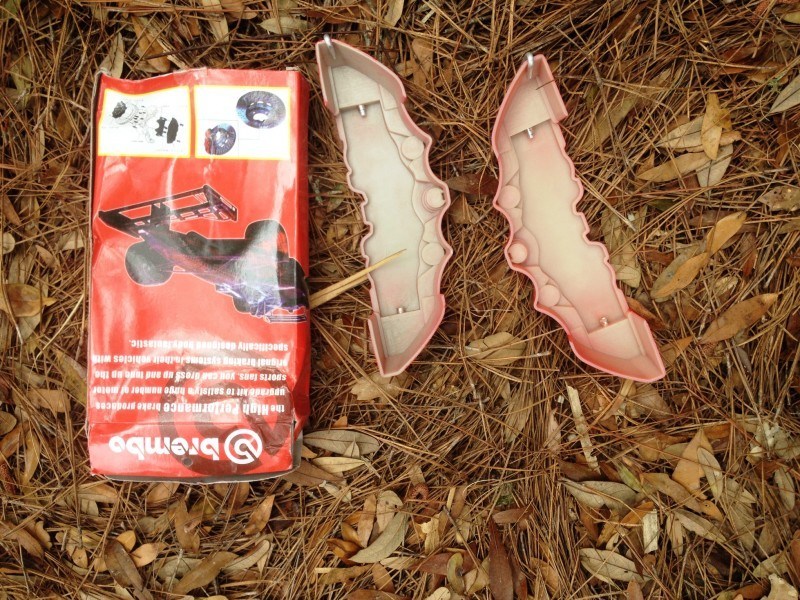
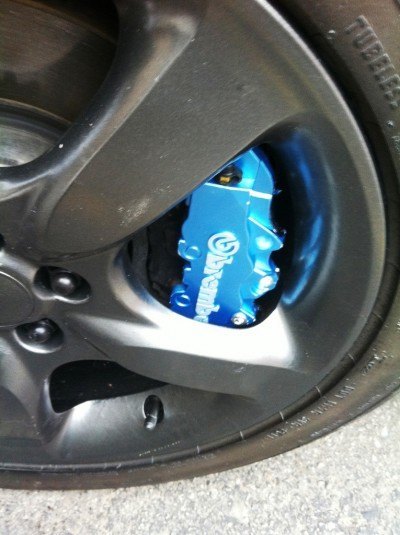
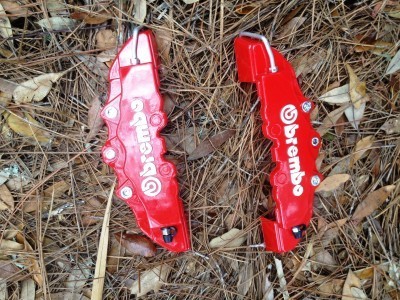
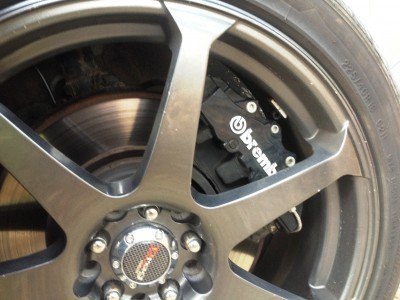
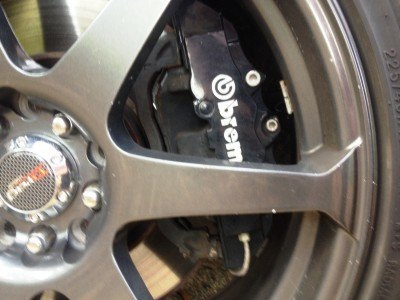
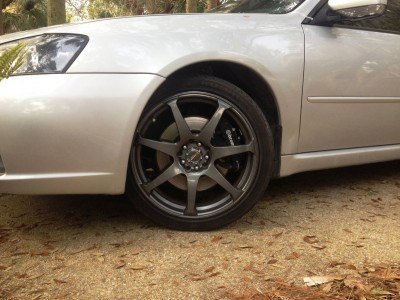
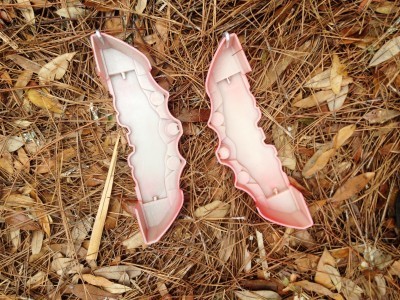
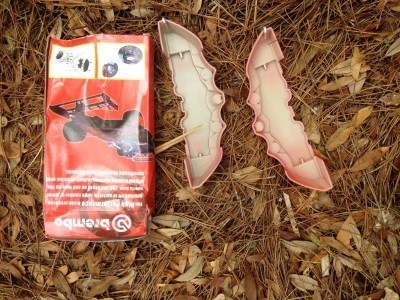
1. Frembo Caliper Covers (extremely, appallingly-fake ‘Brembo’ knock-offs)
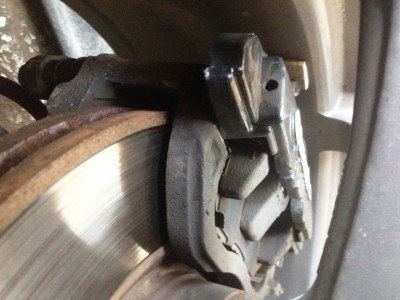
— Why? OEM brakes are usually fine on stopping power, but the calipers themselves look awful and can rust even while performing their job to OEMs standards. These are the most cosmetic way of keeping it fresh.
— Cost: about $15 from online auction sites or sketchy sites selling China-based auto mod stuff. (Read: Ebay. or alibaba). Ebay ones cost more, but China-shipped ones will take 8 weeks to arrive. If they ever do arrive, that is.
If going the China route, I would buy a few extras to make sure you have some that will fit.
— Sizes: small, medium, large and XL — Buy the XL or as large as you can for the front brakes and the second-largest for the back brakes. Trust me, bigger is better than smaller. The small ones are ridiculously-too-small for any application.
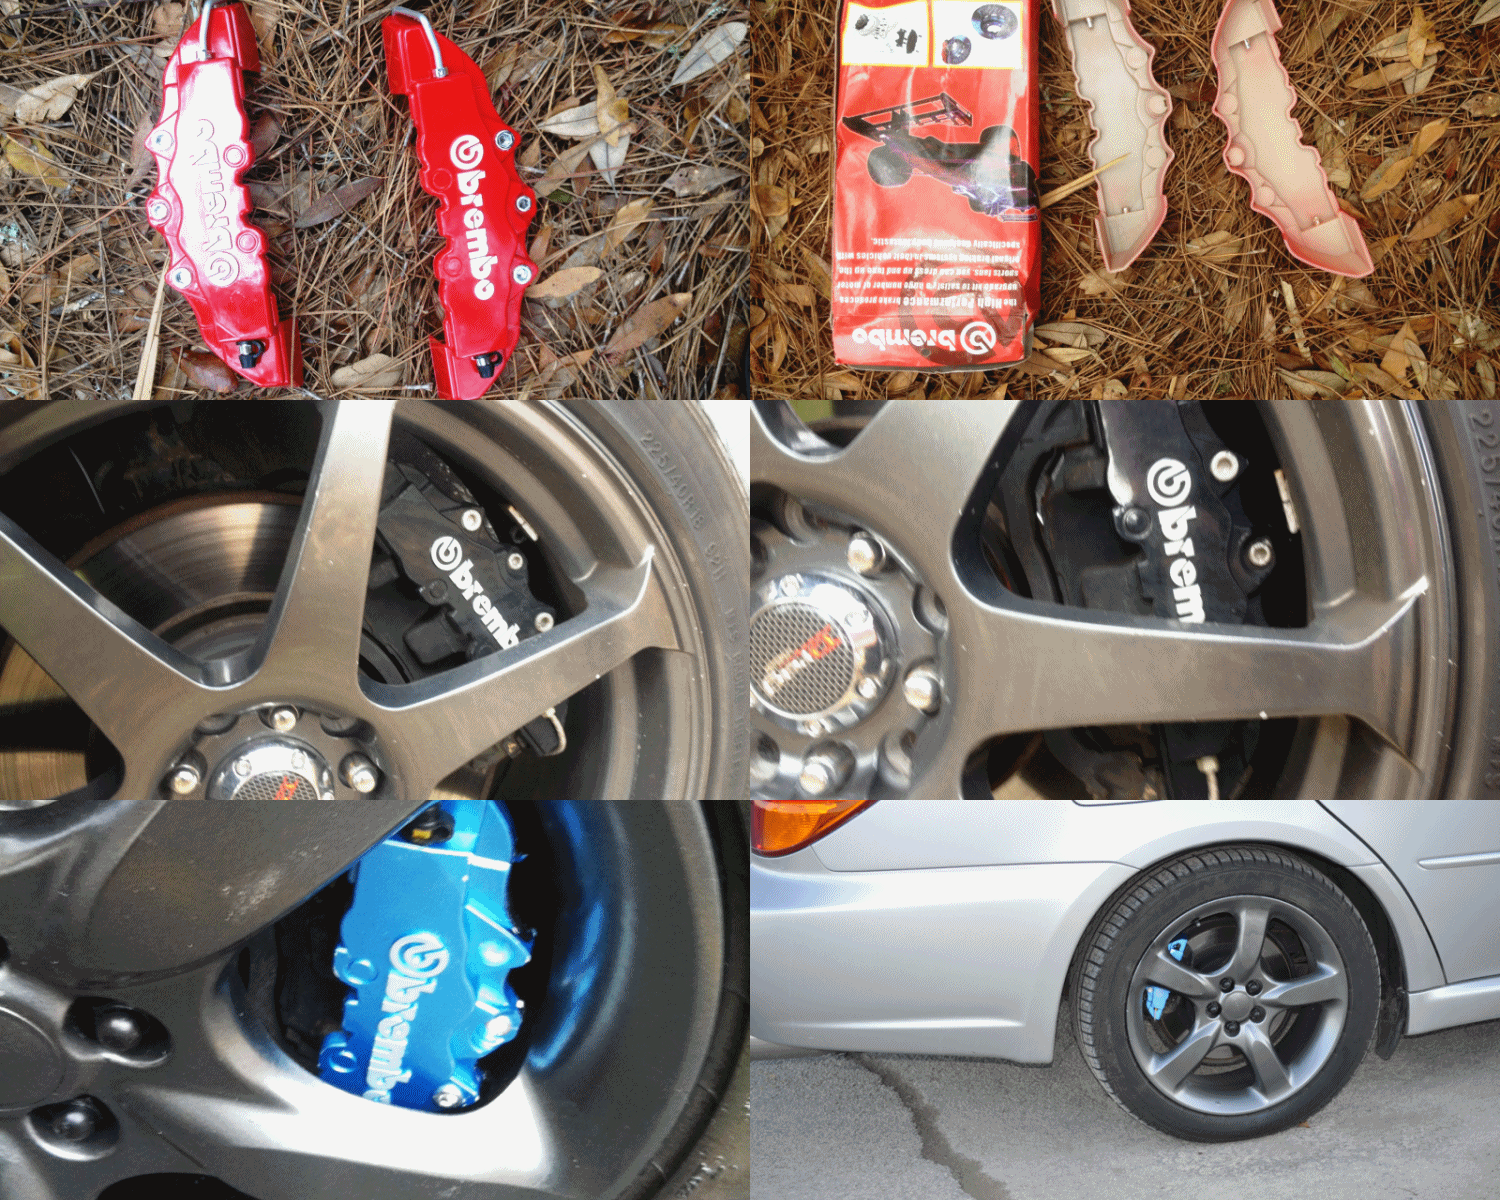
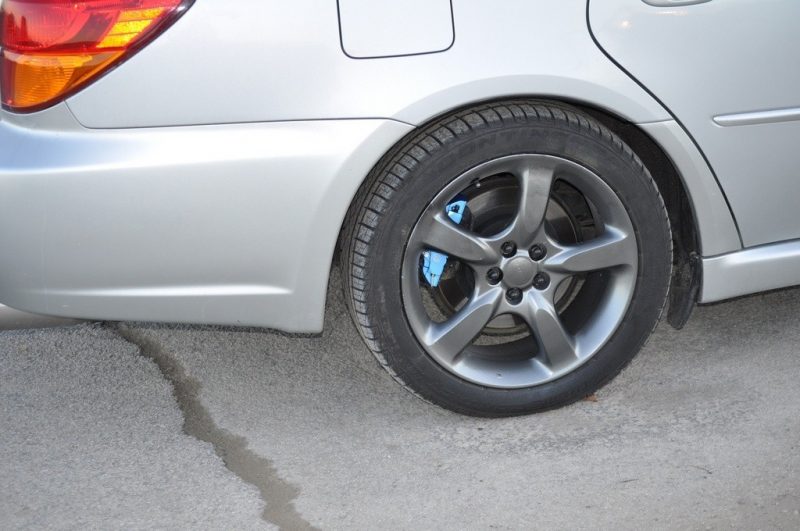
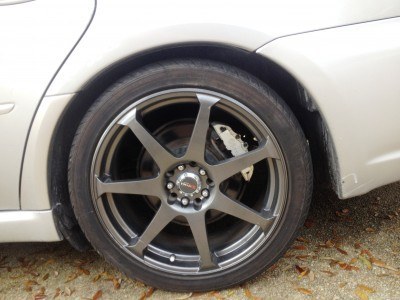
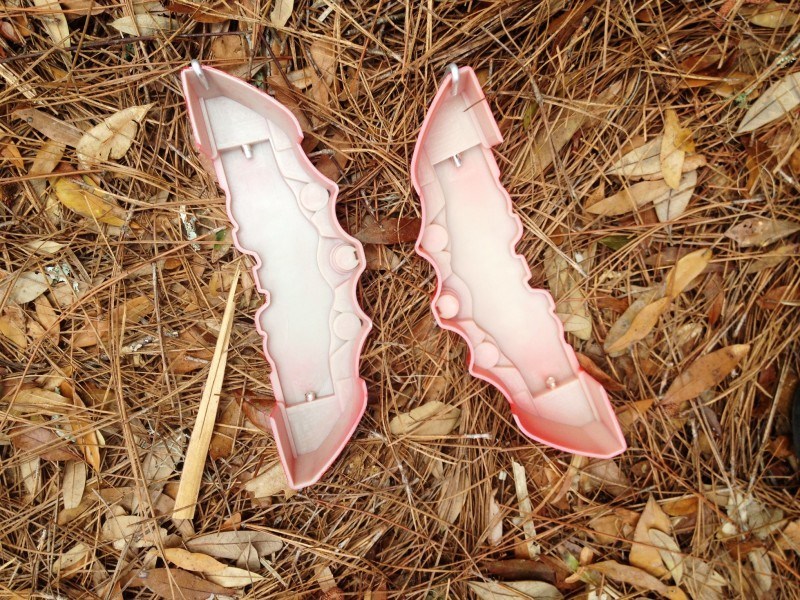
— Colors: many colors available. But be warned: they all fade really badly over time (except the black ones, in my experience.) So if you buy the red ones, get ready for pink ones in a year or less.
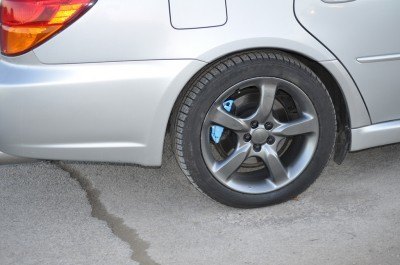
Those blue ones on my back wheels? Add four years, and ta-da: grey.
— Installation: tools needed include some tough scissors or garden shears, plus muffler or gasket sealer
-
Wheels do not necessarily need to come off, and, in fact, are good to keep on to ensure there is no rubbing and that the covers will fit inside your wheel.
-
Wiggle the caliper covers into place, and identify where the shell rubs or limits at least a 3-inch band of adhension.
-
Cut the covers down to size as needed using garden shears
-
Add a blob of exhaust gasket sealer to0 the back side of the caliper cover.
-
Stick onto the brake caliper
-
For brake work, these come off with a mild tug and/or a flathead screwdriver. Wheels off usually makes the removal easier to make sure they do not crack.
-
After new brake pads, repeat steps two through four
FINAL CAVEAT: do not tell anyone they are covers, or you will be loudly mocked. It takes a pretty close look to know one from the other, but, obviously, car guys will know you are trashy if you admit they are covers.
Okay! Hopefully you feel less trashy about your own car since seeing all my awful modifications over the years =]
But if you go for some of these ideas, please share your results!
http://www.facebook.com/carrevsdaily
Stay tuned for five more of my trashy DIY car mods in more articles today.
Next Segments coming in a few weeks?
— DIY LED High-Beams…
— DIY Comfort/Quietness Upgrades…

Tom Burkart is the founder and managing editor of Car-Revs-Daily.com, an innovative and rapidly-expanding automotive news magazine.
He holds a Journalism JBA degree from the University of Wisconsin – Madison. Tom currently resides in Charleston, South Carolina with his two amazing dogs, Drake and Tank.
Mr. Burkart is available for all questions and concerns by email Tom(at)car-revs-daily.com.

