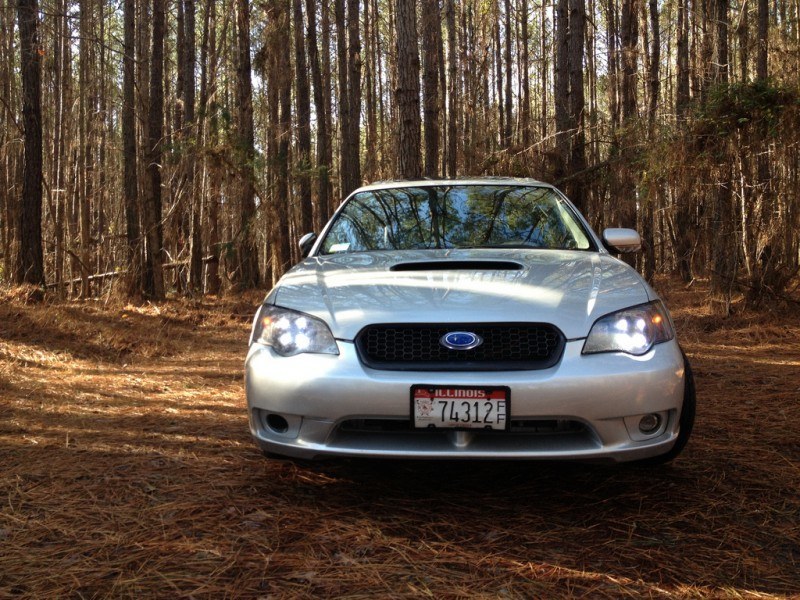
Part One of a new ‘DIY Car Mods’ series.
Definitely some really trashy stuff included in this series of articles. But what is the best/worst part of modifying your own car? No matter the price of the upgraded parts — you have zero guarantee they will perform as promised, or even fit.
So please take all these with a hefty dose of salt. Ideally, these are just ideas based on what has “stuck” on my car’s cosmetic refresh list over the years. Many, many even trashier upgrades have been installed and later removed from deep shaming by car-guy pals. And always remember, no matter how crappy your DIY effort, there is always a worse one out there… somewhere!
Must-Have Mod Criteria:
— Under $60 per upgrade. Total.
— Installed in a few hours or less by anyone. Little expertise needed.
— (Mostly) Able to be uninstalled in just 5 minutes as needed when the style is dated or you … ahem… grow out of some of these boy-racer styling enhancements.
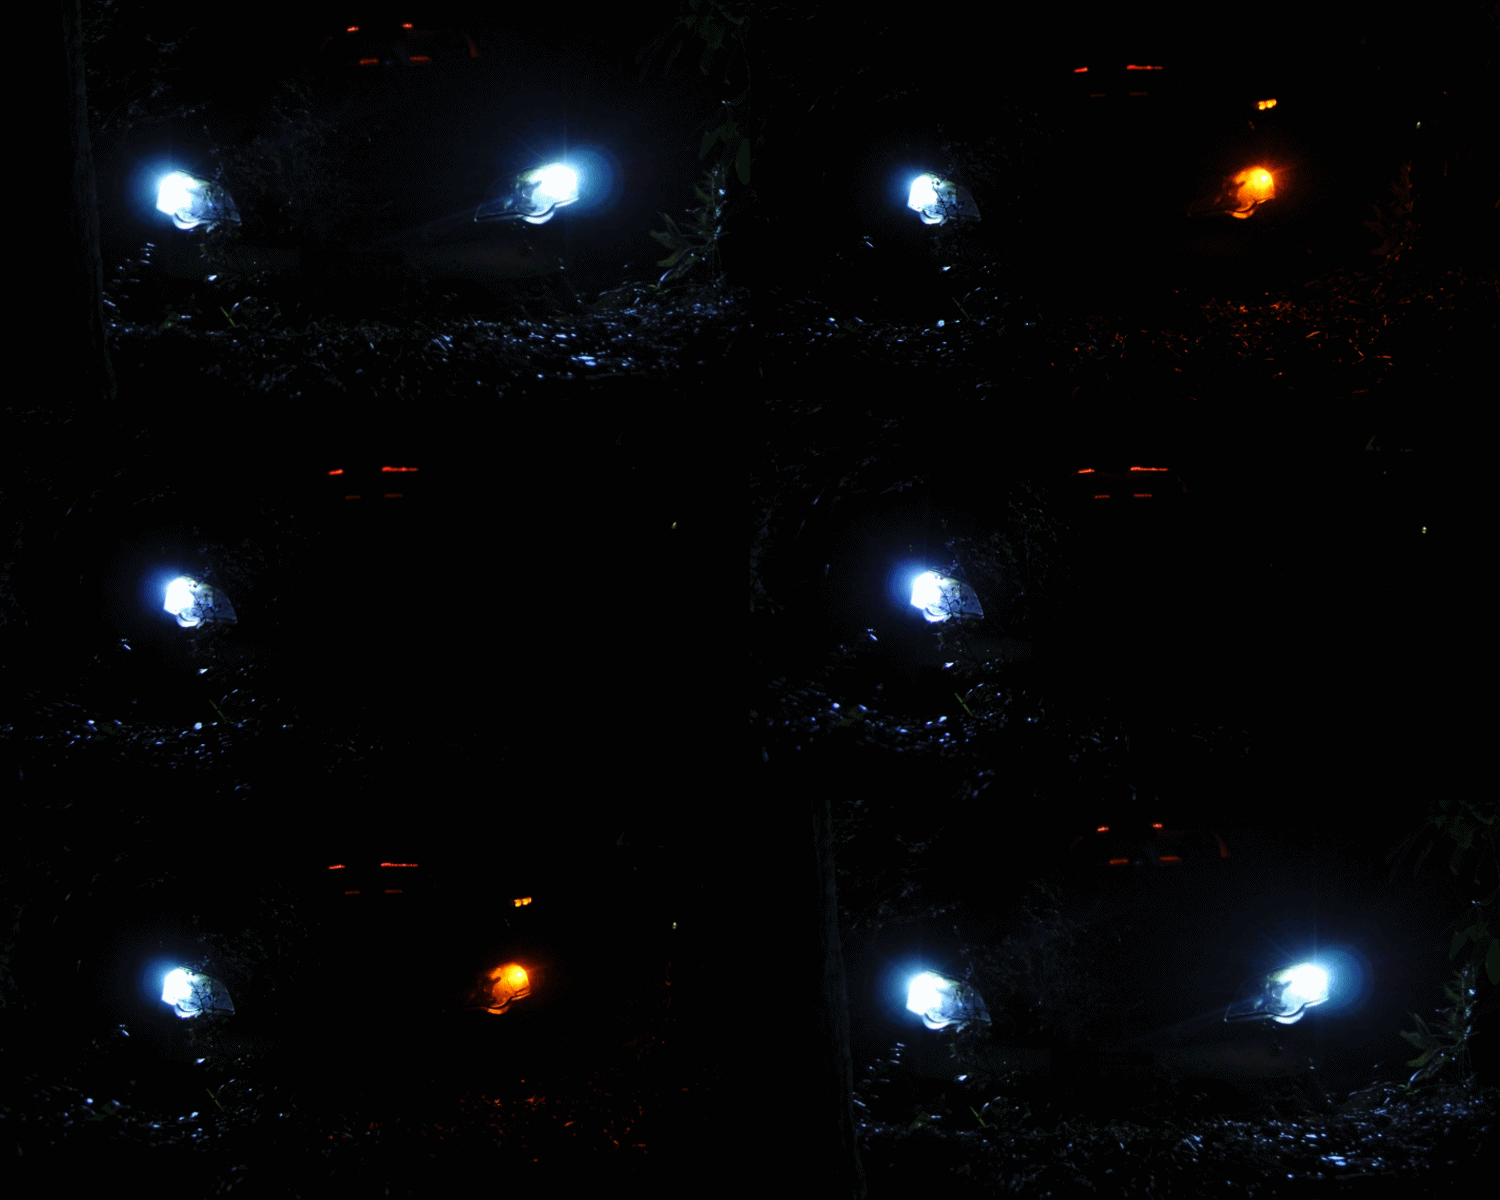
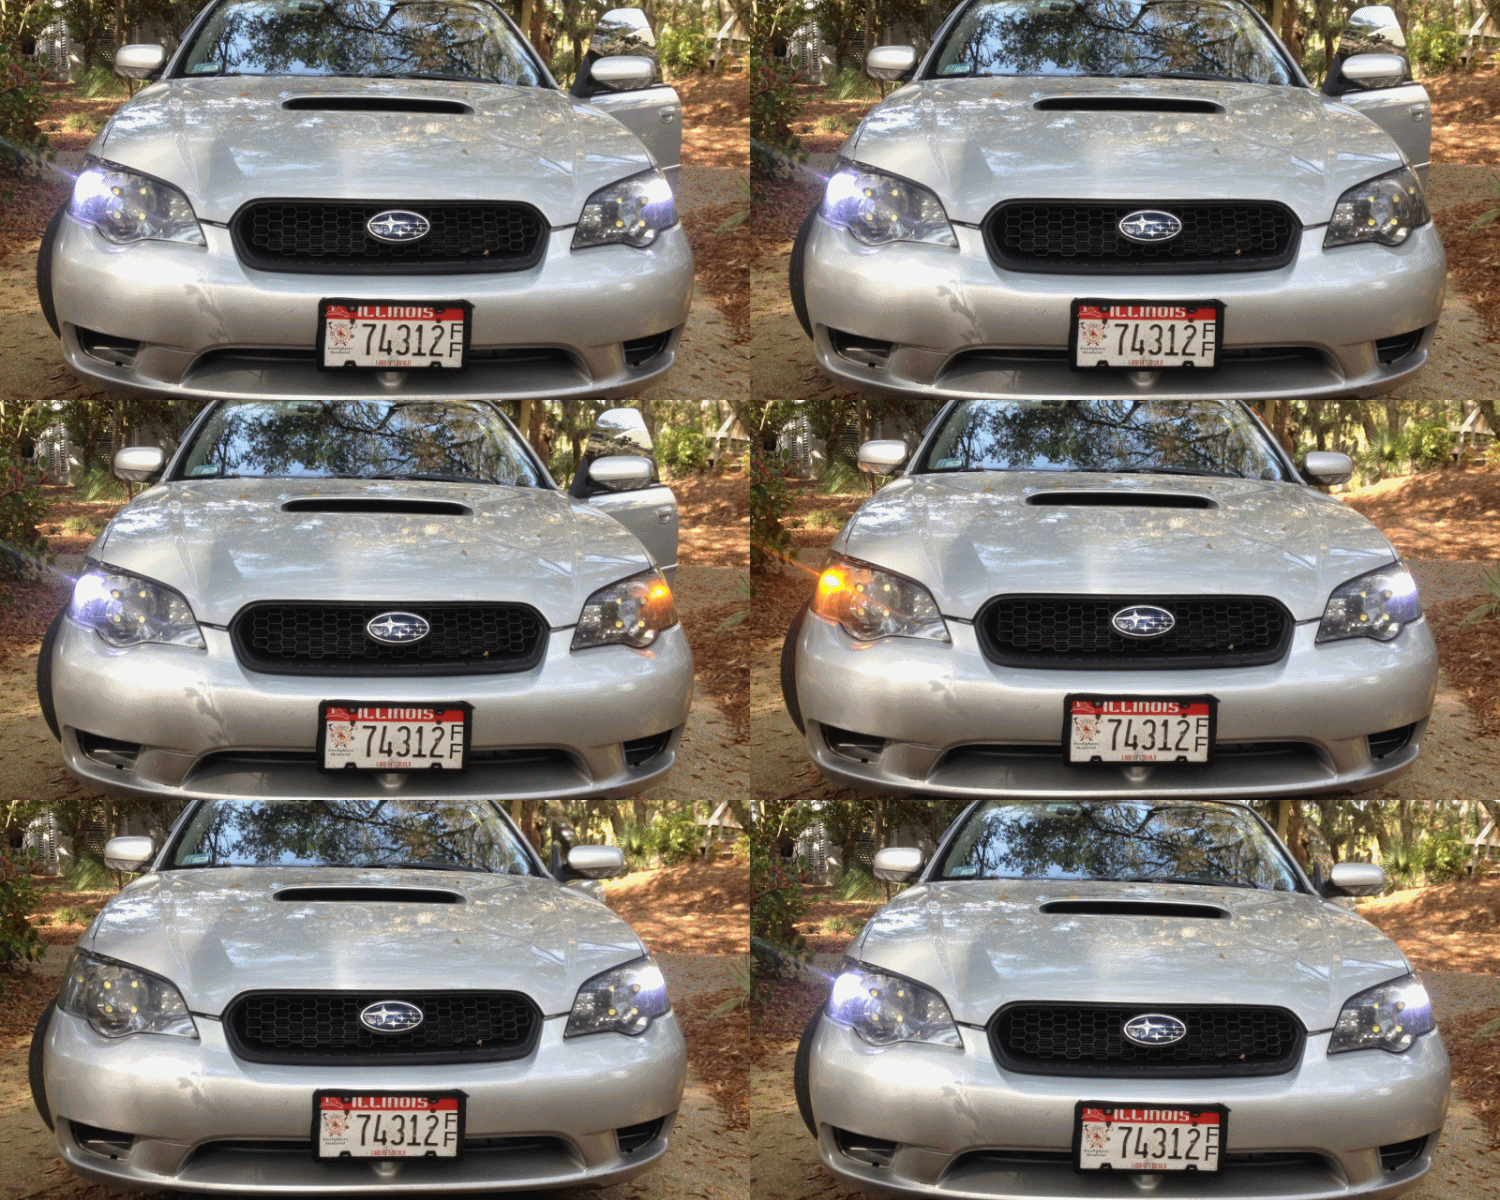
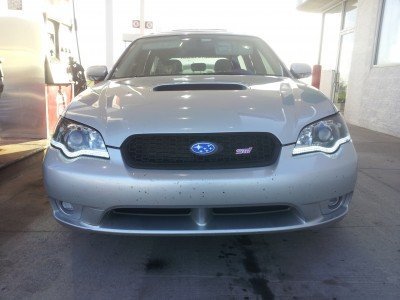
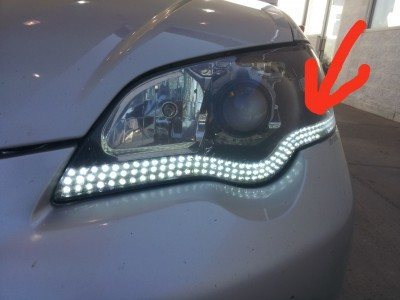
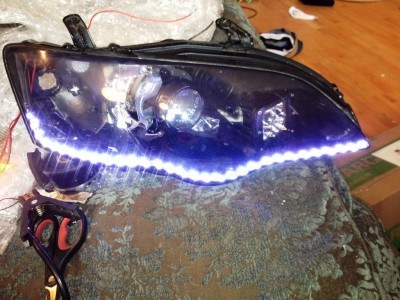
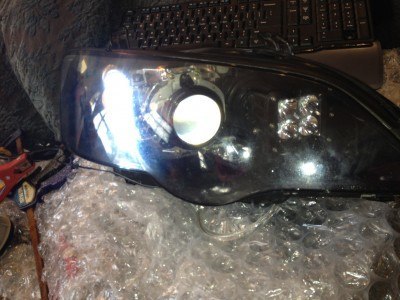
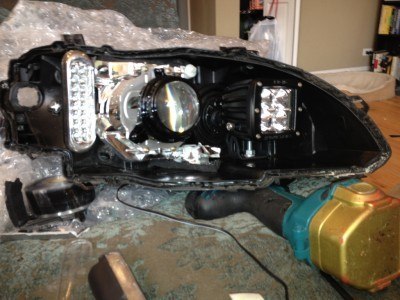
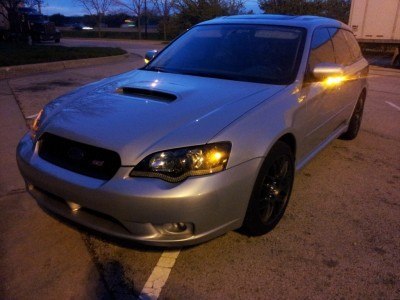
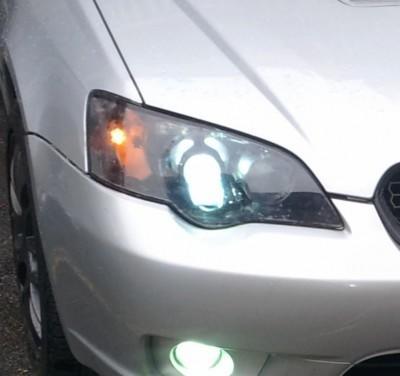
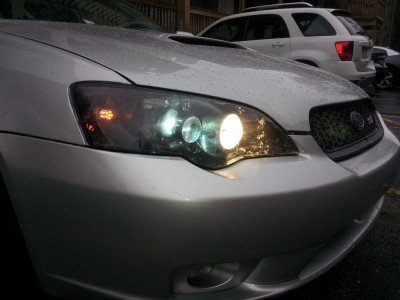
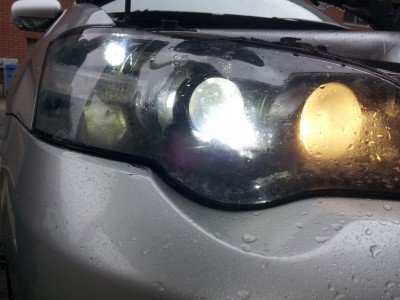
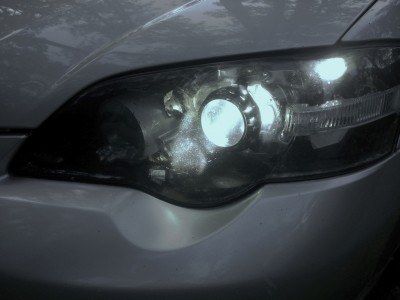
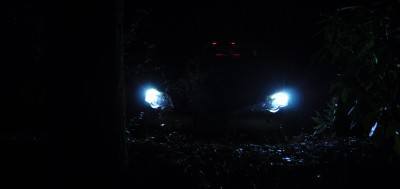
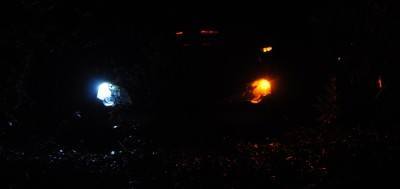
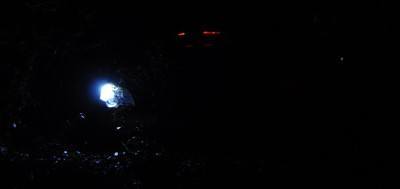
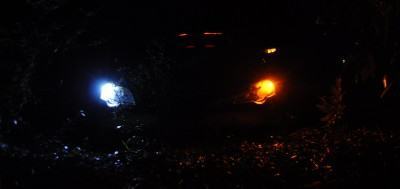
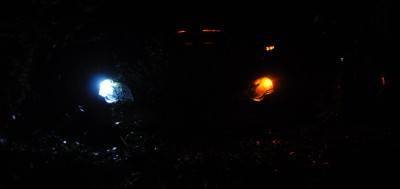
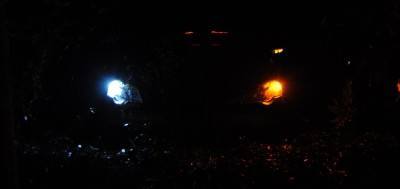
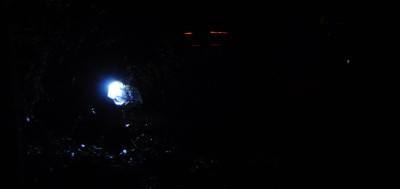
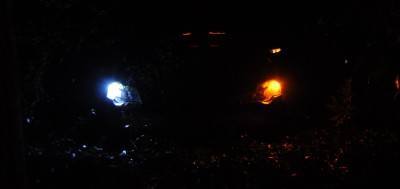
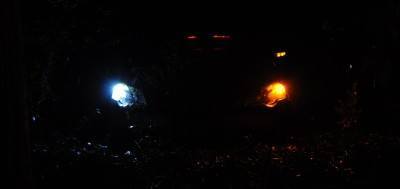
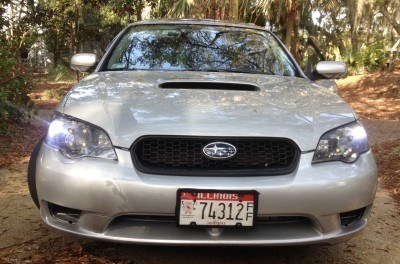
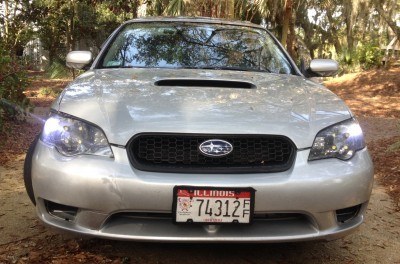
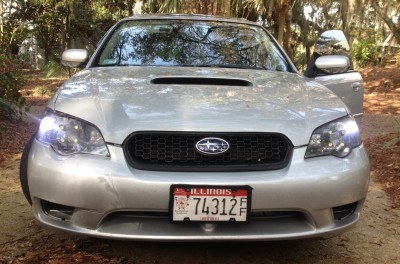
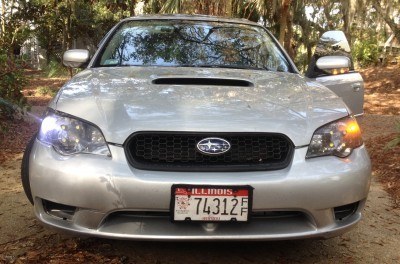
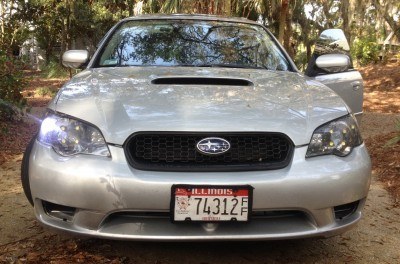
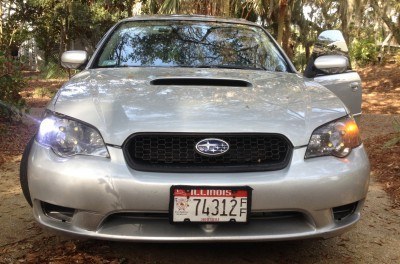
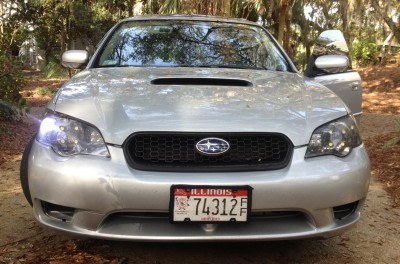
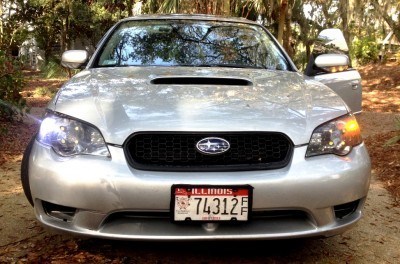
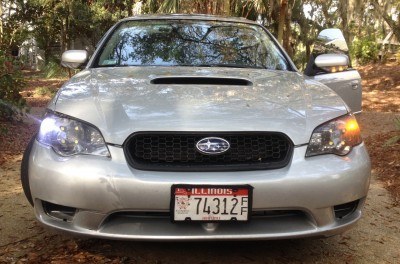
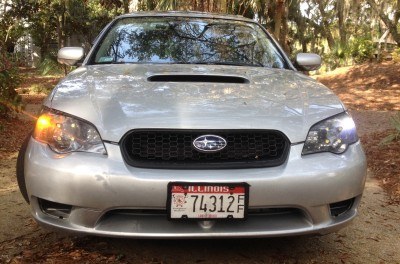
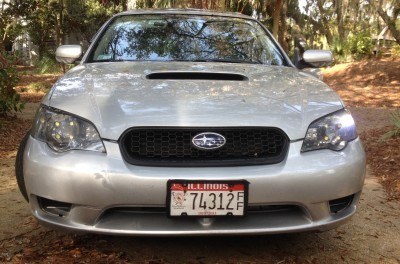
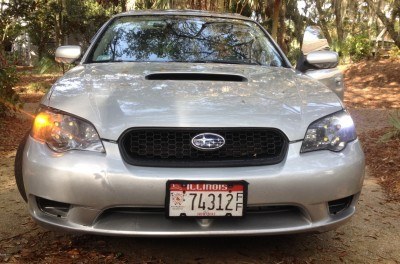
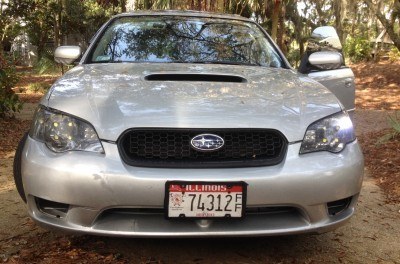
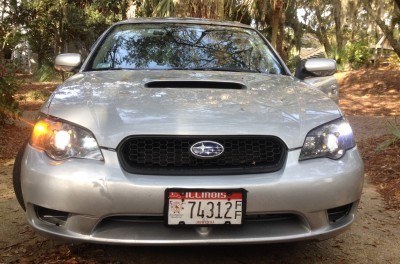
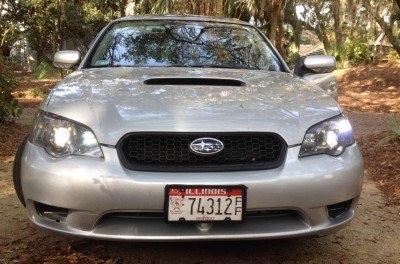
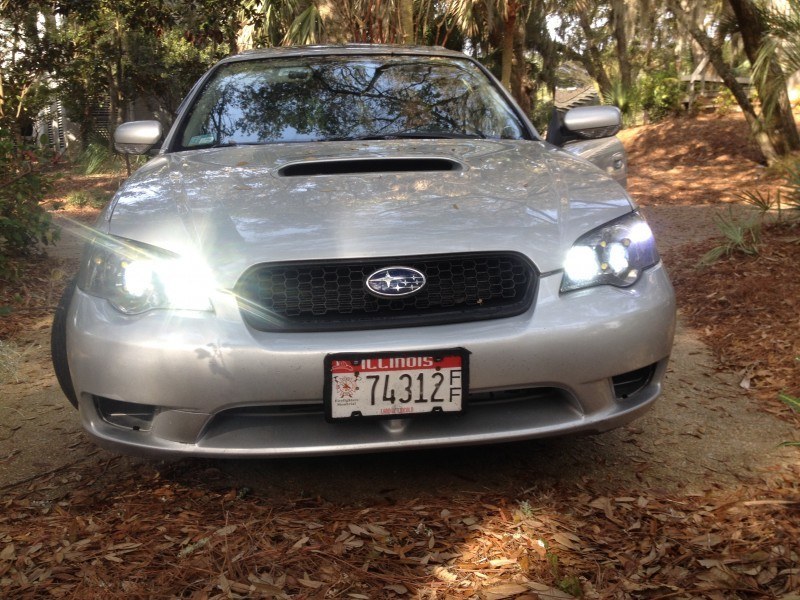
LED Switchback indicators: Fun, and useful for under-glass LED DRL solution as well. Not sure why I didn’t just take a video of this, but I didn’t. It works as displayed below.
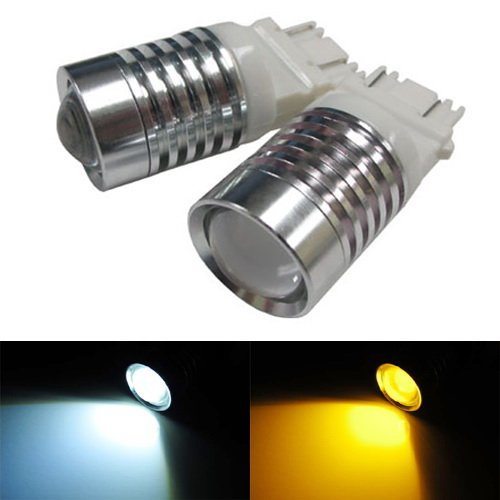
— Why? these are a cool way for an old car to join the LED DRL club, because when in regular parking light setting, they simply glow white. But on blink, they switch to amber. From same bulb.
— Cost: get good ones. This will help them not burn out immediately. Mine were about $40 from amazon. (Plus $20 for the new LED relay, discussed below.) This was about the fifth pair I tried, and the only one that looks at-all OEM on the road. Trust me.

 What is that? You do not trust me!? Okay, here is some proof… =]
— CAVEAT! normally, LED blinkers need large external resistors in every corner to avoid ghetto blink. These things suck, fail often, are a pain to wire in small spaces, and will lead to ghetto-blink regardless of how well you try to wire all four corners. Avoid cutting or splicing OEM headlight and blinker wiring if at all possible — for your own sanity and knuckle skin safety.
— Sizes: determine the OEM light bulb size in your turn signals
— Installation:
-
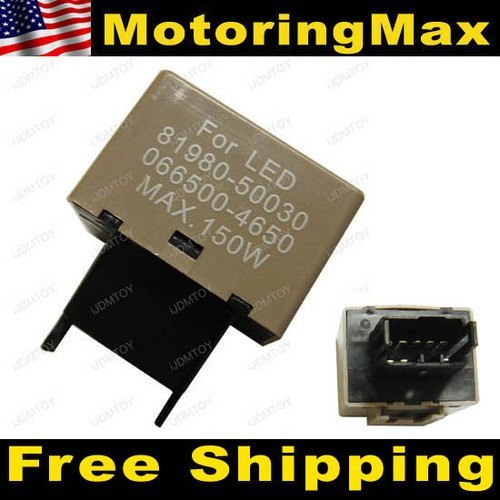
BUY AND REPLACE ORIGINAL BLINKER RELAY WITH LED_FRIENDLY RELAY FIRST. I promise, you will thank me. This acts as a ‘resistor’ to avoid ghetto-blink in all corners without using those awful (and expensive) resistor things on every corner.
-
What is a blinker relay? On my Subaru, it is about 2X the size of the largest black-box relay fuse units. Lives on the inner side of the interior fusebox. New relay is same size and looks same. A black box of about 2x2x2 inches all around.
-
Once new relay is in: simply change out the original amber blinker bulbs for the new ones.
-
Easy. But do not scrimp and try to wire the resistors yourself, or buy too-cheap switchback bulbs. They will fail in 6-weeks or less.
NIGHT PHOTOS
Okay! Hopefully you feel less trashy about your own car since seeing all my awful modifications over the years =]
But if you go for some of these ideas, please share your results!
http://www.facebook.com/carrevsdaily
Stay tuned for five more of my trashy DIY car mods in more articles today.
Next Segments coming in a few weeks?
— DIY LED High-Beams…
— DIY Comfort/Quietness Upgrades…
Tom Burkart is the founder and managing editor of Car-Revs-Daily.com, an innovative and rapidly-expanding automotive news magazine.
He holds a Journalism JBA degree from the University of Wisconsin – Madison. Tom currently resides in Charleston, South Carolina with his two amazing dogs, Drake and Tank.
Mr. Burkart is available for all questions and concerns by email Tom(at)car-revs-daily.com.

